How to press flowers
Flowers have the power to transport us back to special celebrations and moments in time. From those milestone birthdays bouquets to first date posies – there are so many reasons why you may be looking into how to press flowers to preserve those happy memories.
It's super easy to press flowers at home too – you don't even need any fancy tools, just a few items you already have around your house! So, whether you want to preserve the roses from your wedding bouquet forever or turn your mum's favourite pansies into matching jewellery for the perfect personalised gift, follow this guide to learn how.
A quick note before you start pressing flowers...
As with flower arranging, drying flowers, or any other activity handling eye-catching blooms, there are a few things you'll need to know before you get started.
Which flowers are the best for pressing?
Flat-faced flowers – think pansies, daisies and even sunflowers – are generally the best option for pressing as their shape means they take less time to reach their final form. Don't worry if you were hoping to press your sunshine yellow anniversary roses, however, as thicker flowers can still be used but it's advisable to split them down the middle with a pair of scissors.
The most popular flowers to press are:
- Daisies
- Pansies
- Violets
- Open-shaped or single-petal roses
- Sunflowers

How to prepare a flower for pressing
The freshness of that flower you're going to press is super important and we recommend choosing flowers that have recently bloomed. Here are some of the steps to take to pick your perfect flowers and press them, ready for that weekend craft project.
Step 1 - Choose flowers that are either newly bloomed or still in bud. The fresher the flower, the better the result.
Step 2 - If you're using a cutting from an outdoor space, the best time to get your hands on the freshest flora is just after the morning dew has disappeared.
Step 3 - As soon as you've cut the flowers, hold the stems under water. It's like a little replenishing bath that gives them that last boost of moisture to help them look fresher for longer.
Step 4 - Next, cut the stems at an angle, remove any leaves below the water line and pop them into a vase filled with fresh water and flower food. Keep the flowers hydrated in this water for a few hours in a cool room with no direct sunlight but a good amount of ventilation.
Top tip - How fresh the flowers are is important, so if you've picked your flowers but can't press them straight away, you'll need to take further steps to keep them happy.
We recommend that you pop them in an airtight container or sandwich bag and then leave in a cool place - ideally the fridge. We know you'll have to make room around that half eaten pasta bake and those strawberries that could do with being eaten, but it will be worth it!
Which material is the best to use when flower pressing?
Most people choose paper when it comes to pressing their flowers and there's a lot of varieties to choose from.
You could sneak a few sheets of plain paper out of the printer or even hoard some cardboard and tissue paper from those online shopping orders (we won't tell anyone). You can also use paper kitchen towels, but only if there aren't patterns or texture in it. The same goes for cardboard – make sure it's not corrugated as these patterns can imprint on your flower.

Flower pressing methods
There are a handful of different ways to achieve your desired outcome when pressing flowers at home. It might even be a good idea to give all these options a go, to see which you find easiest and most effective.
Method 1 - How to press flowers using a book
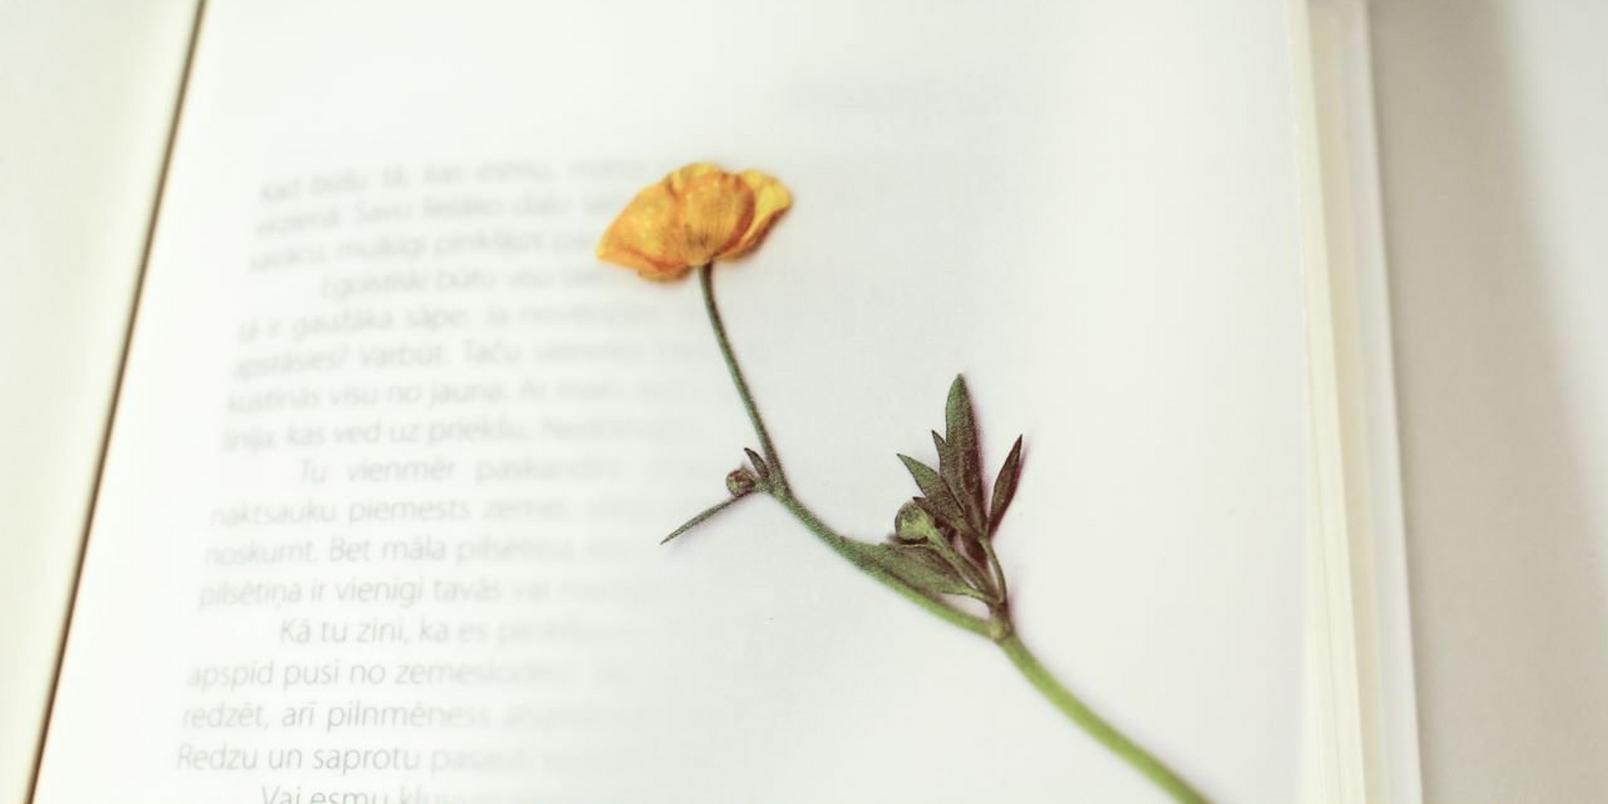
This is possibly the most popular way to press flowers, due to the accessibility of books! Even if you're not a bookworm, you probably have a nice heavy-duty dictionary or cookbook lying in the back of a cupboard that you can use.
Step 1 - Pop your chosen flower(s) in between your two pieces of paper and place this inside the book.
Step 2 - Weigh the book down with something nice and heavy. That paperweight from your Nan last Christmas or those old uni textbooks would work.
Step 3 - Change the sheets of paper every three days or so. Hey, we didn't say this process was speedy!
Step 4 - The flowers will be completely dry and ready to remove in two to three weeks - changing the paper will give you a good indication of how far along in the process they are.
Step 5 - Remove your paper carefully, as the dry flower will be extremely delicate.
Top tip – If you're looking to press several flowers at once then make sure they have enough room between them and aren't touching or overlapping.
Method 2 - How to use a flower press
If you're hoping to turn pressing flowers into a regular hobby or even a side hustle, a flower press might be a great option for you.
You can make a wooden flower press yourself, or buy one from an online marketplace such as Amazon or Etsy. They're not fancy pieces of kit and also aren't an expensive option if this something you're likely to be doing regularly.
Step 1 - Much like the book method, carefully place your flower(s) between your two chosen pieces of paper.
Step 2 - Place this into the flower press and tighten it up.
Step 3 - Change the paper every two to three days. The flower(s) will be ready in three to four weeks.
Step 4 - Again, once your flower is ready to be removed, do so carefully to ensure the delicate bloom isn't damaged, then enjoy!
Method 3 - How to press flowers using an iron
Irons are great multi-purpose appliances. Maybe you used one in your senior school days to straighten your hair – long live our split ends – as well as to get the creases out of your uniform? Well, an iron can also be used to press those important blooms, ready for that craft project.
Step 1 - Remove all water from the iron – the aim of the game is to press and dry your flowers – so bear in mind that water or steam will spoil the petals.
Step 2 - Time to grab that unused dictionary again. Place the flower between two pieces of paper and press with a heavy book.
Step 3 - Heat the iron to a low to medium temperature, remove the paper from the book then hold the iron in place on the piece of paper and the flower for around 10 seconds.
Step 4 - Wait for the paper and flower to completely cool and repeat, then once cooled again check that the flower is dried out.
Top tip - Want to use another appliance to prep your flowers for those crafty weekends? Head over to the guide on how to dry flowers for a step by step tutorial on how to dry flowers in the microwave!

Uses for pressed flowers
- Frame them - How better to remember your special occasion than with a framed pressed flower on your wall?
- Make personalised cards - If you're into crafts then this idea is perfect for you. Create your own greetings cards with your pressed flowers for that personal touch.
- Other stationery items - Customise your very own stationery line, from writing paper to the front of your notebook or even create a unique bookmark.
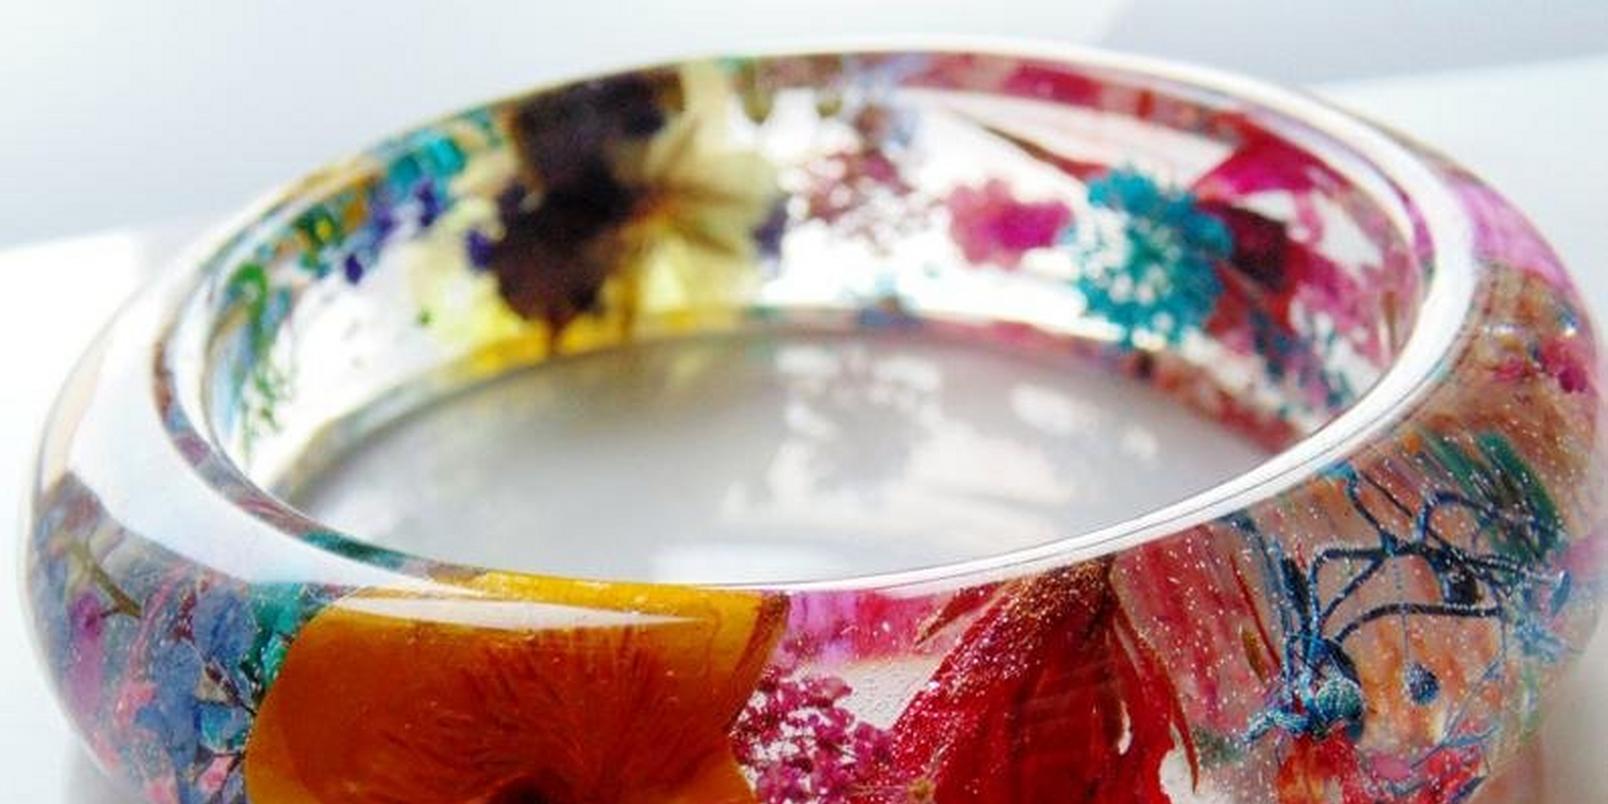
- Create jewellery - With the help of moulds and epoxy resin, you can make gorgeous items, such as necklaces, with your beautiful blooms.
- Jazz up your phone case - Either simply position your pressed flowers into a clear case and pop your phone in or add epoxy resin for a permanent creation.
- Beautify your coasters - Want a sprinkling of joy every time you pick up your cuppa? Either buy small clear frame-like coasters and place your pressed flowers inside or make a coaster by arranging your flowers on top of a small, flat piece of wood and use epoxy resin for a lasting and eye-catching finish.
- Make candles - Every time you light your homemade candle and see your pressed flowers glowing, you'll be reminded of that special occasion, what's not to love?
- Press them into a memories book - Whether it's as part of your wedding photo album or a birthday scrapbook, you can add your pressed flowers to bring those memories to life.
How long do pressed flowers last?
The length of time your gorgeously preserved pressed flowers last will vary slightly depending on the type of flower and how well the pressing process was handled – but the great news is that pressed flowers can last for a long time. The only thing to note is that some petals might see their colour fade after around 5-7 years.
Some flowers and plants last for so long that the Natural History Museum in London has a collection of herbarium sheets from as far back as the late 1600s. Now, you might not be looking to create anything quite this durable, but it's good to know!
Do you feel ready to take the plunge into the world of flower pressing? Turn your special flowers into something that will last a lifetime by following these steps.
